
Preparing the recipient CSV
Recipient information is provided through a CSV file. Select Upload CSV and download the sample CSV generated for the selected templates: it provides the required structure for recipient information.
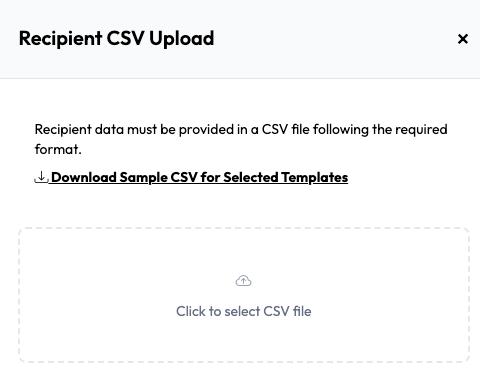
One CSV row = one signature request
Each valid recipient row represents one independent signature request.
For example:
| Recipient | Result |
|---|---|
| Employee A | Signature Request A |
| Employee B | Signature Request B |
| Employee C | Signature Request C |
The requests are independent of one another. One recipient completing, declining, or failing to complete their request does not complete or block the other recipients' requests.
Why use the generated sample CSV?
The required CSV columns depend on the selected template(s) and signer configuration.
Always use the Download Sample CSV for Selected Templates option when preparing a new bulk request. This helps ensure that:
- Required columns are present
- Recipient information is mapped correctly
- Signer information matches the selected template
- Multiple signer roles, where applicable, receive the correct data
Validate the CSV
After selecting the CSV file, use Validate CSV & Save.
Undersign validates the uploaded recipient data before the batch is created. Validation helps identify problems such as:
- Missing required recipient information
- Invalid email addresses
- Missing signer information
- Incorrect CSV structure
- Missing values required by the selected template
- Invalid data for required fields
Correct any validation errors and upload the corrected CSV before proceeding.
The recipient CSV must match the format of the generated sample CSV: no blank rows or columns, and no invalid email addresses. Create the CSV carefully. Each valid row becomes one signature request.
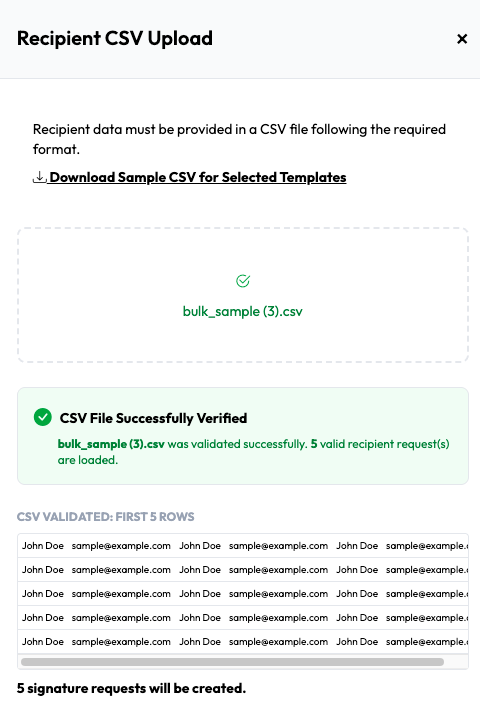
Important: Validation should be completed before the bulk request is created. This prevents avoidable errors from being introduced into a large number of signature requests.